Tesseract Mixed Reality Knowledge Base
Introduction to Mixed Reality Design System
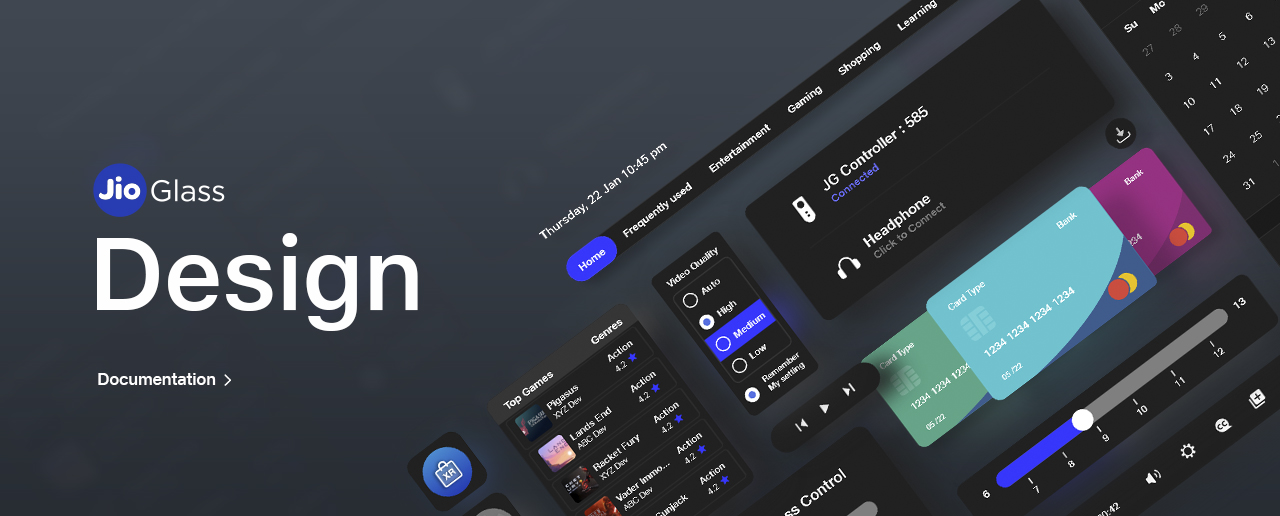
Mixed Reality (MR) is a blend of physical and virtual worlds, where user can interact designs virtual in a physical world. The Jio Mixed Reality Design and Interaction system is created to help designers, developers and product owners to build high-quality digital experiences in MR (Mixed Reality) that aim to create a delightful, engaging and consistent digital experiences for our users and developers love across all digital touch-points.
This design system is inspired from elements in the real world incorporating various physical and environmental factors such as light, shadows, reflection and motion.
Introduction to Tesseract Mixed Reality Development
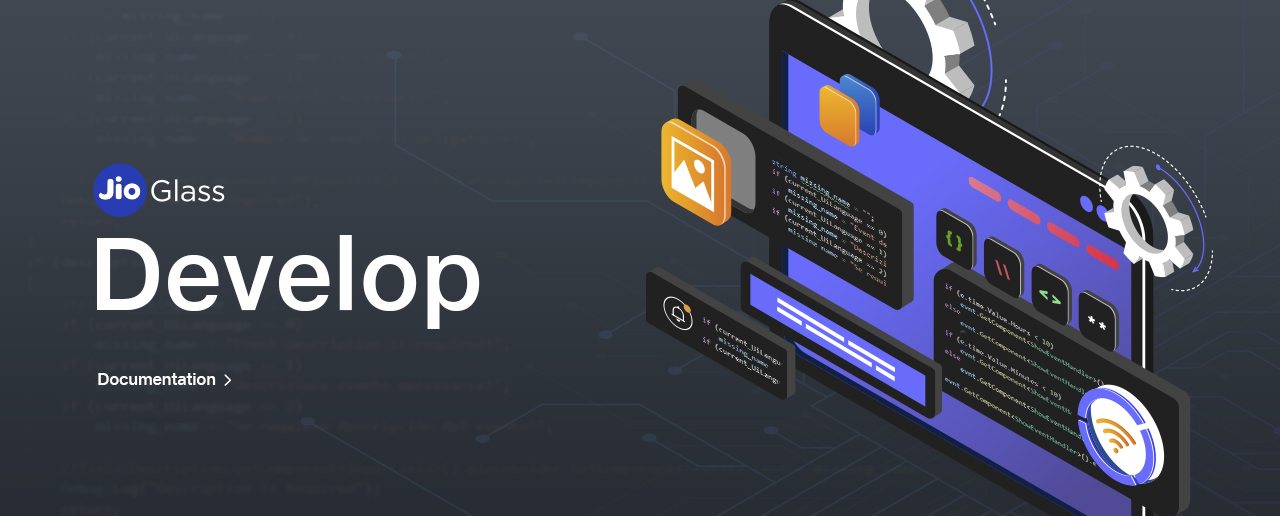
Mixed Reality (MR) is a blend of physical and virtual worlds, where users can interact with designs virtual in a physical world. The Jio Mixed Reality Software Development Kit is created to help developers embark on this journey to build high-quality digital experiences in MR (Mixed Reality) that aim to create a delightful, engaging, and consistent digital experiences for our users and developers love across all digital touch-points.
The documentation provides a step-by-step guide to develop applications on the Jio Mixed Reality System. So hurry up and...
Last updated