Publishing to Apple Store
Assuming that you have created your Apple developer account. If not, then check from the video below:
Configuring Unity
Delete the Agora Folder.
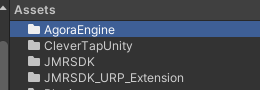
Delete the screencast folder from the JMRSDK.

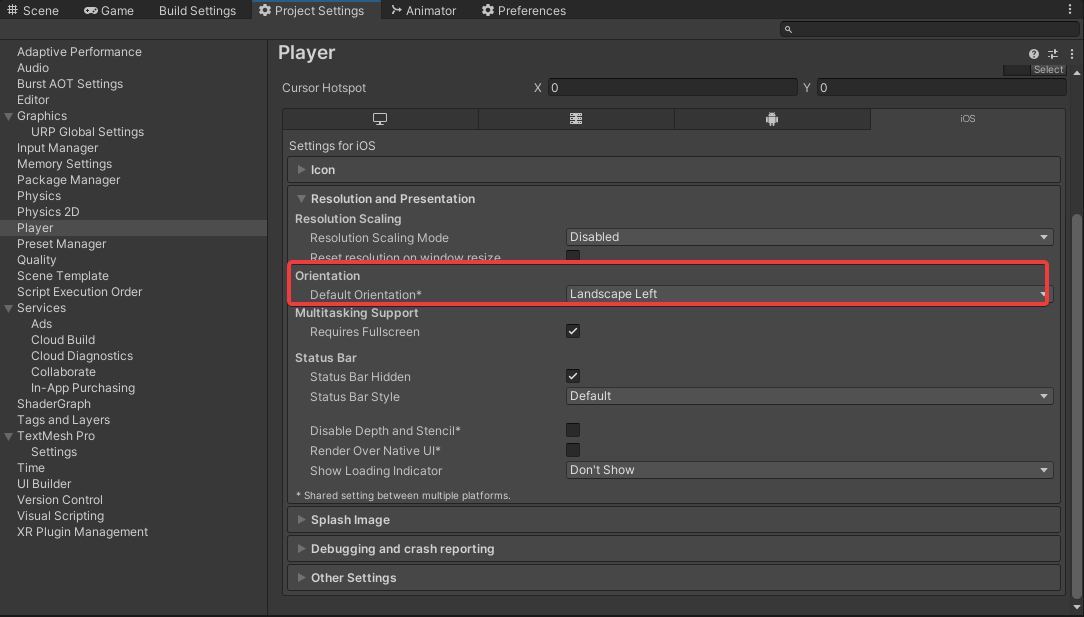
Goto Unity > Build Settings > Set the orientation to Landscape left.
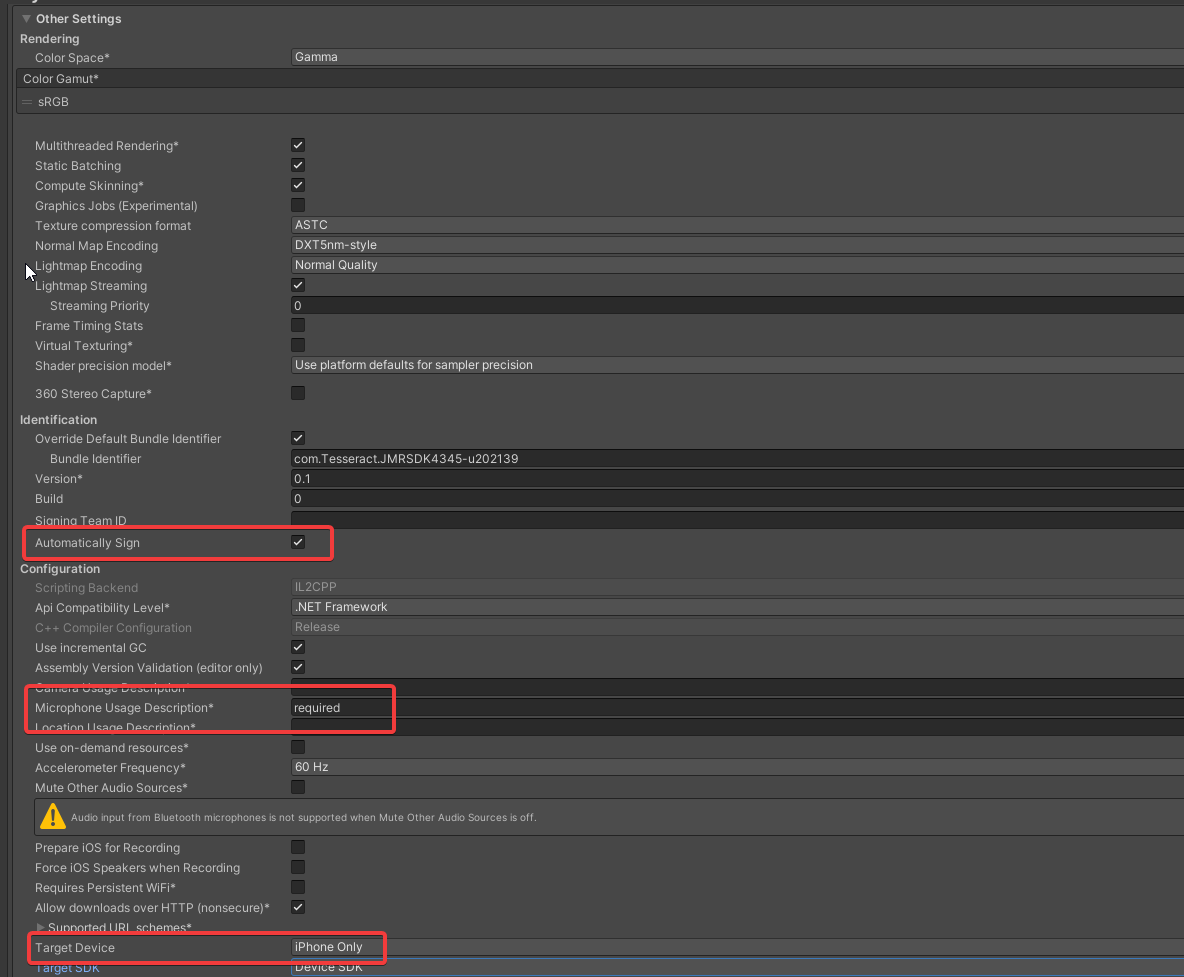
In Build settings > Other settings > Identification > Enable Automatically Sign
In Microphone Usage Description > Write "Required"
Set the Target device to "iPhone only"
Build the project for iOS in Unity Build Settings
XCode
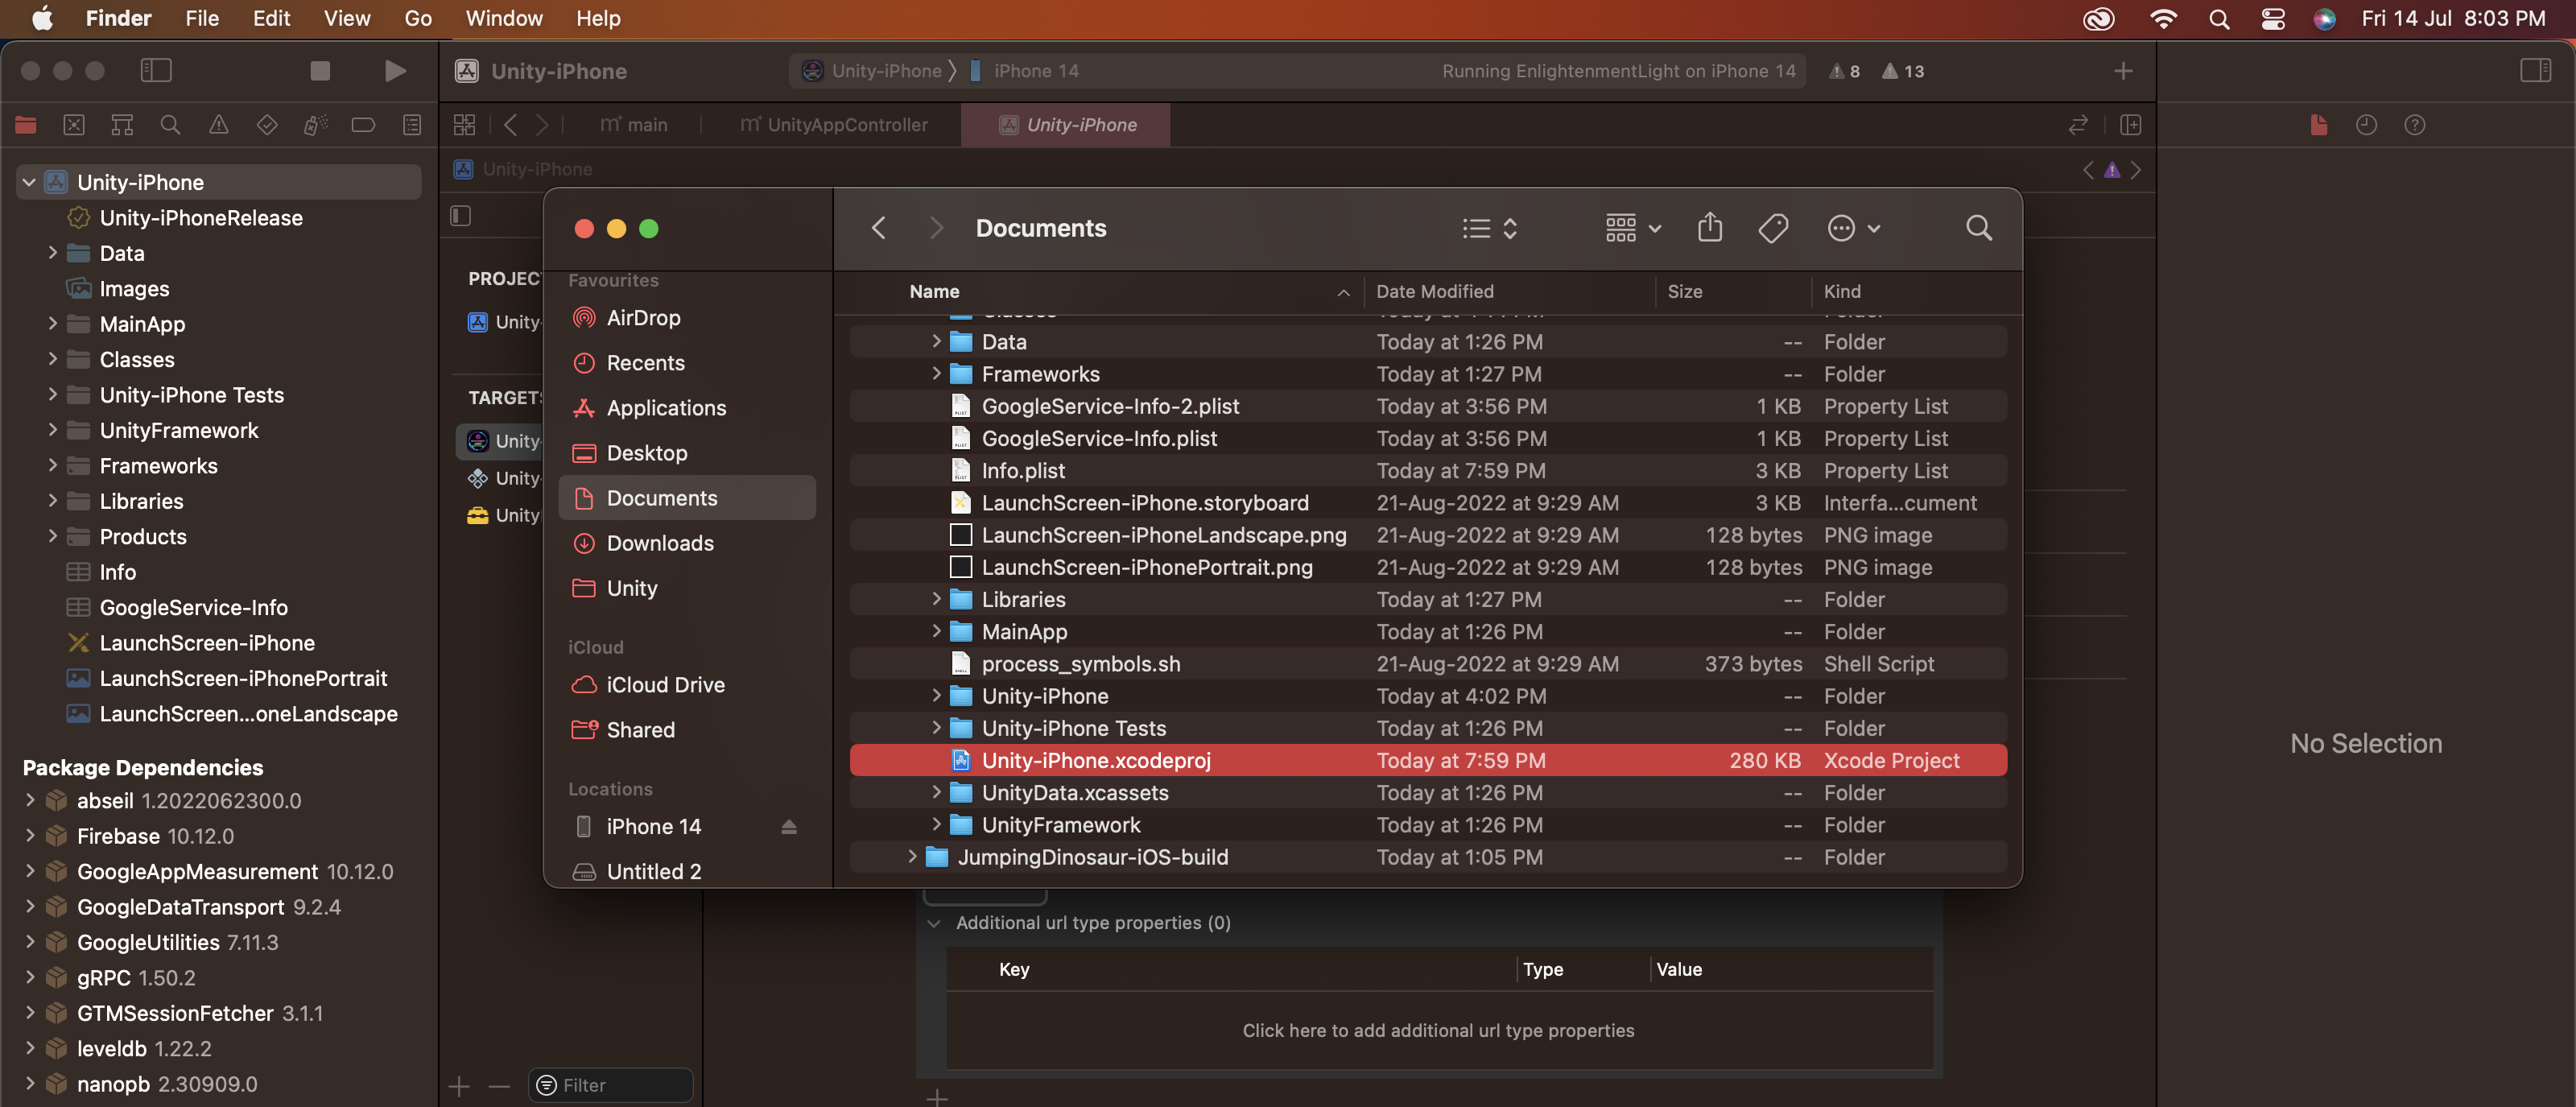
Open the project in the XCode.
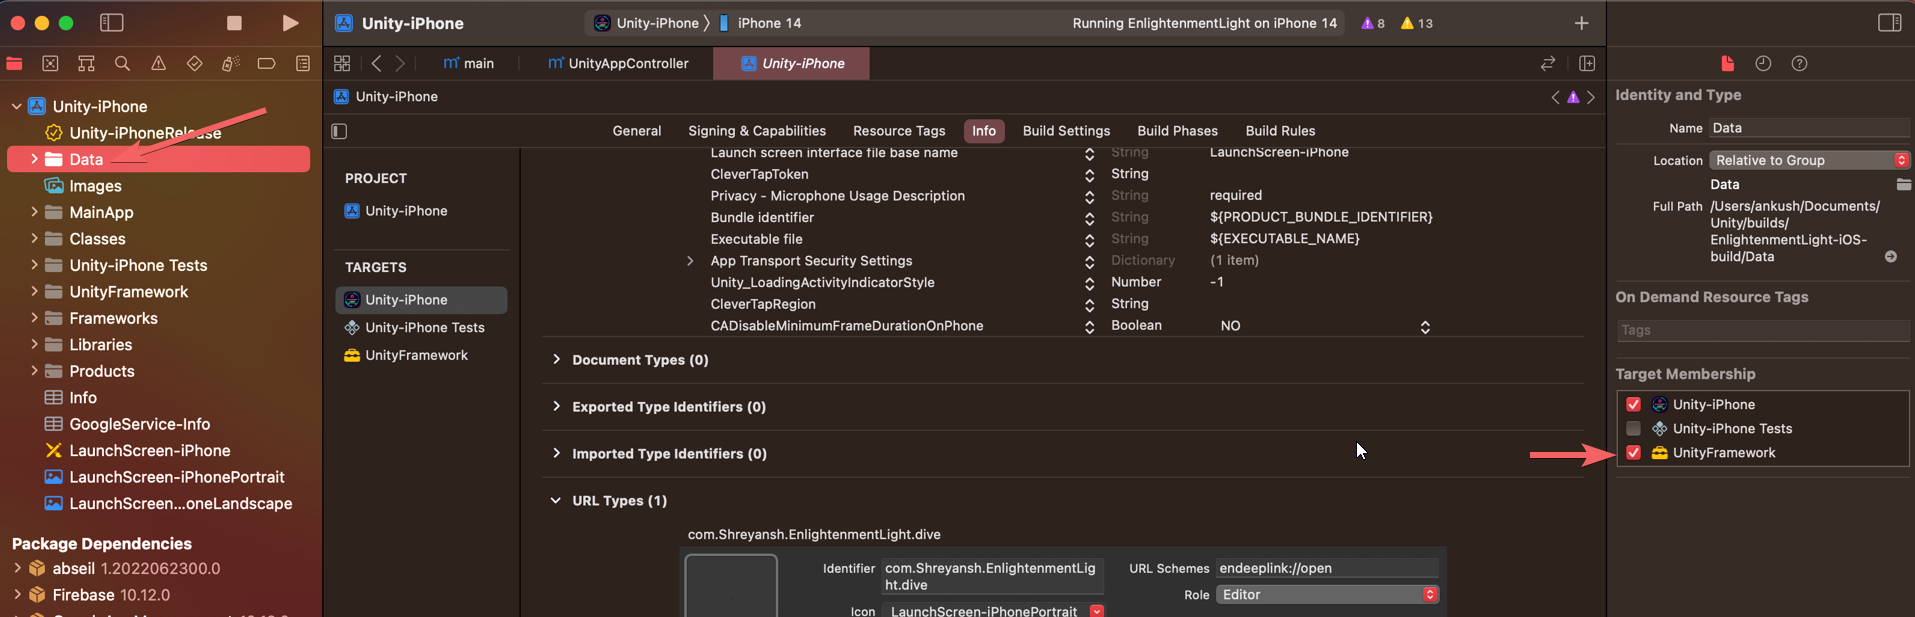
Select the data folder under the project tab, there you will get multiple checkboxes for target membership. Select Unity-iPhone and UnityFramework
Unity-iPhone
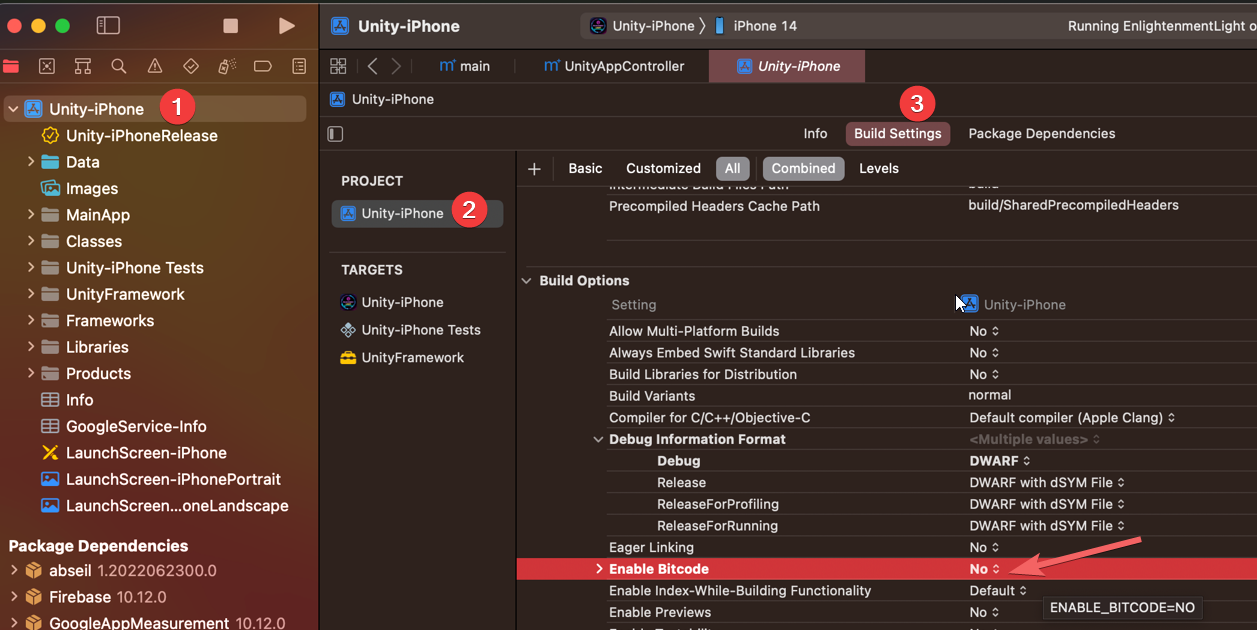
Select Unity-iPhone, there you will get the Build Settings, and set the "Enable Bitcode" to no.
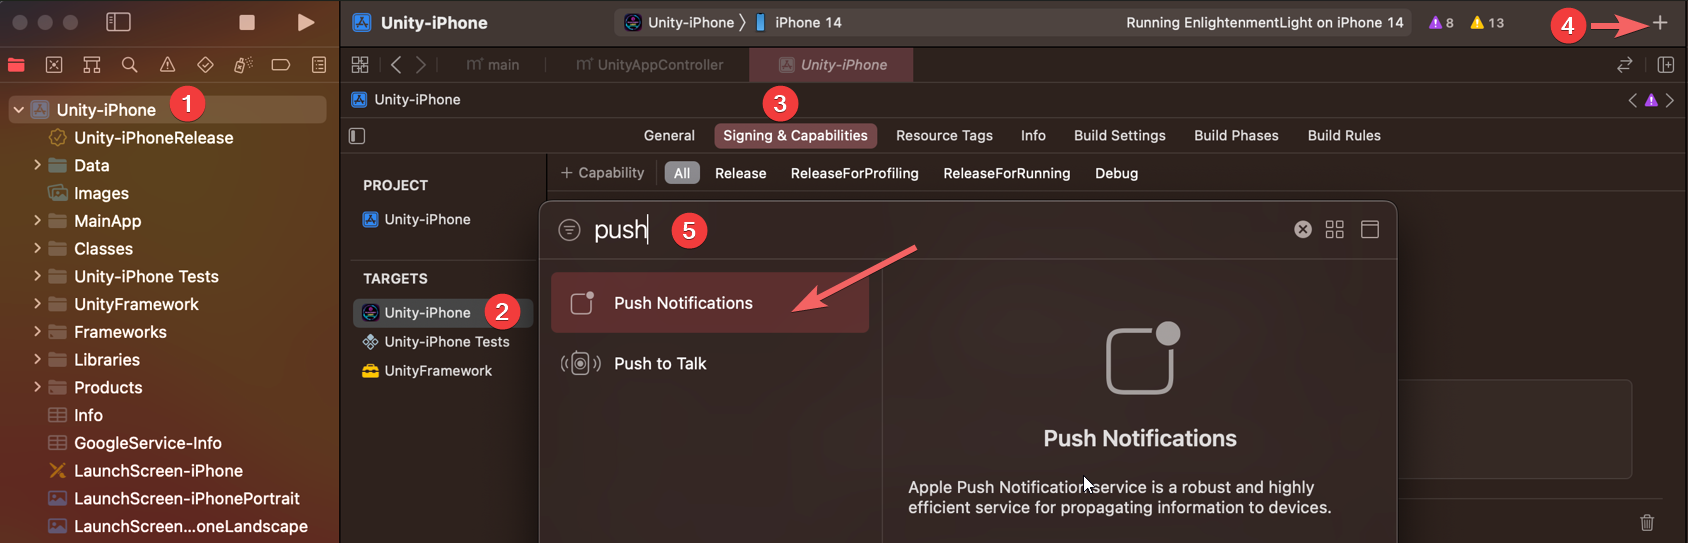
Add push notification from the signing and bundle, while selecting the Unity-iPhone.
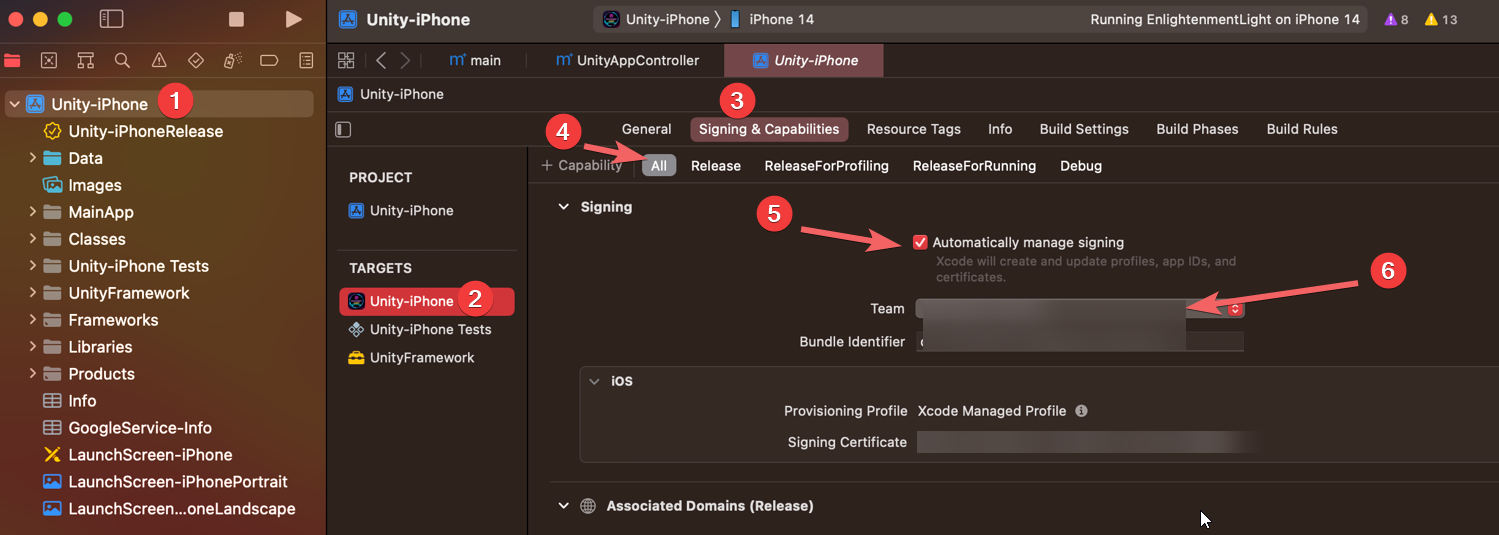
Select the team signing from the signing and bundle, after selecting the "All" tab.
Licensing your iOS Application to work with JioImmerse
Licensing Journey in iOS JioImmerse
Building and publishing the app
Create a build from Product > Build or use the Command + 'B' shortcut.
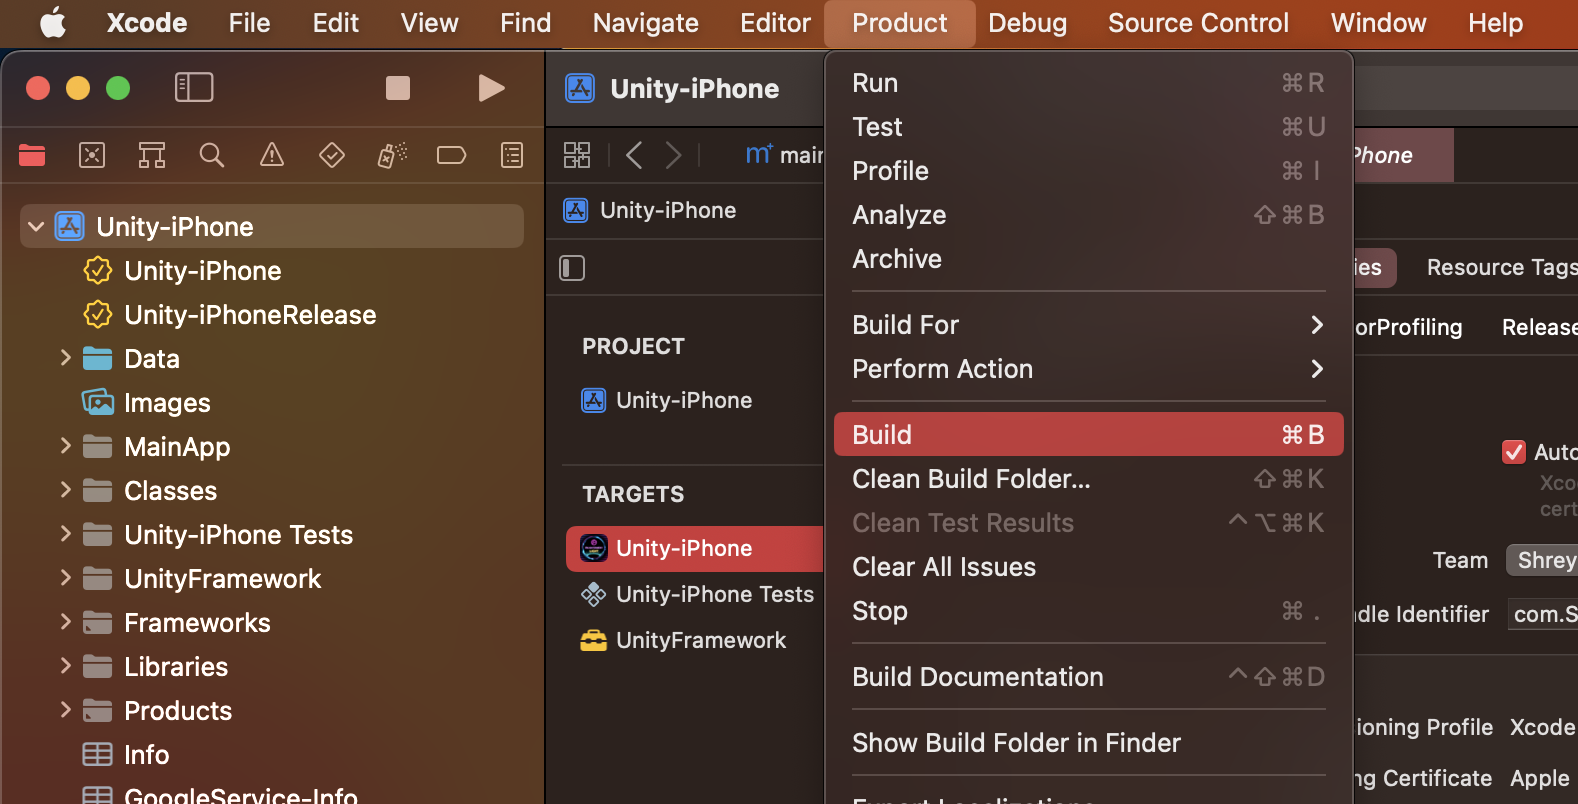
If the build fails, refer to FAQs
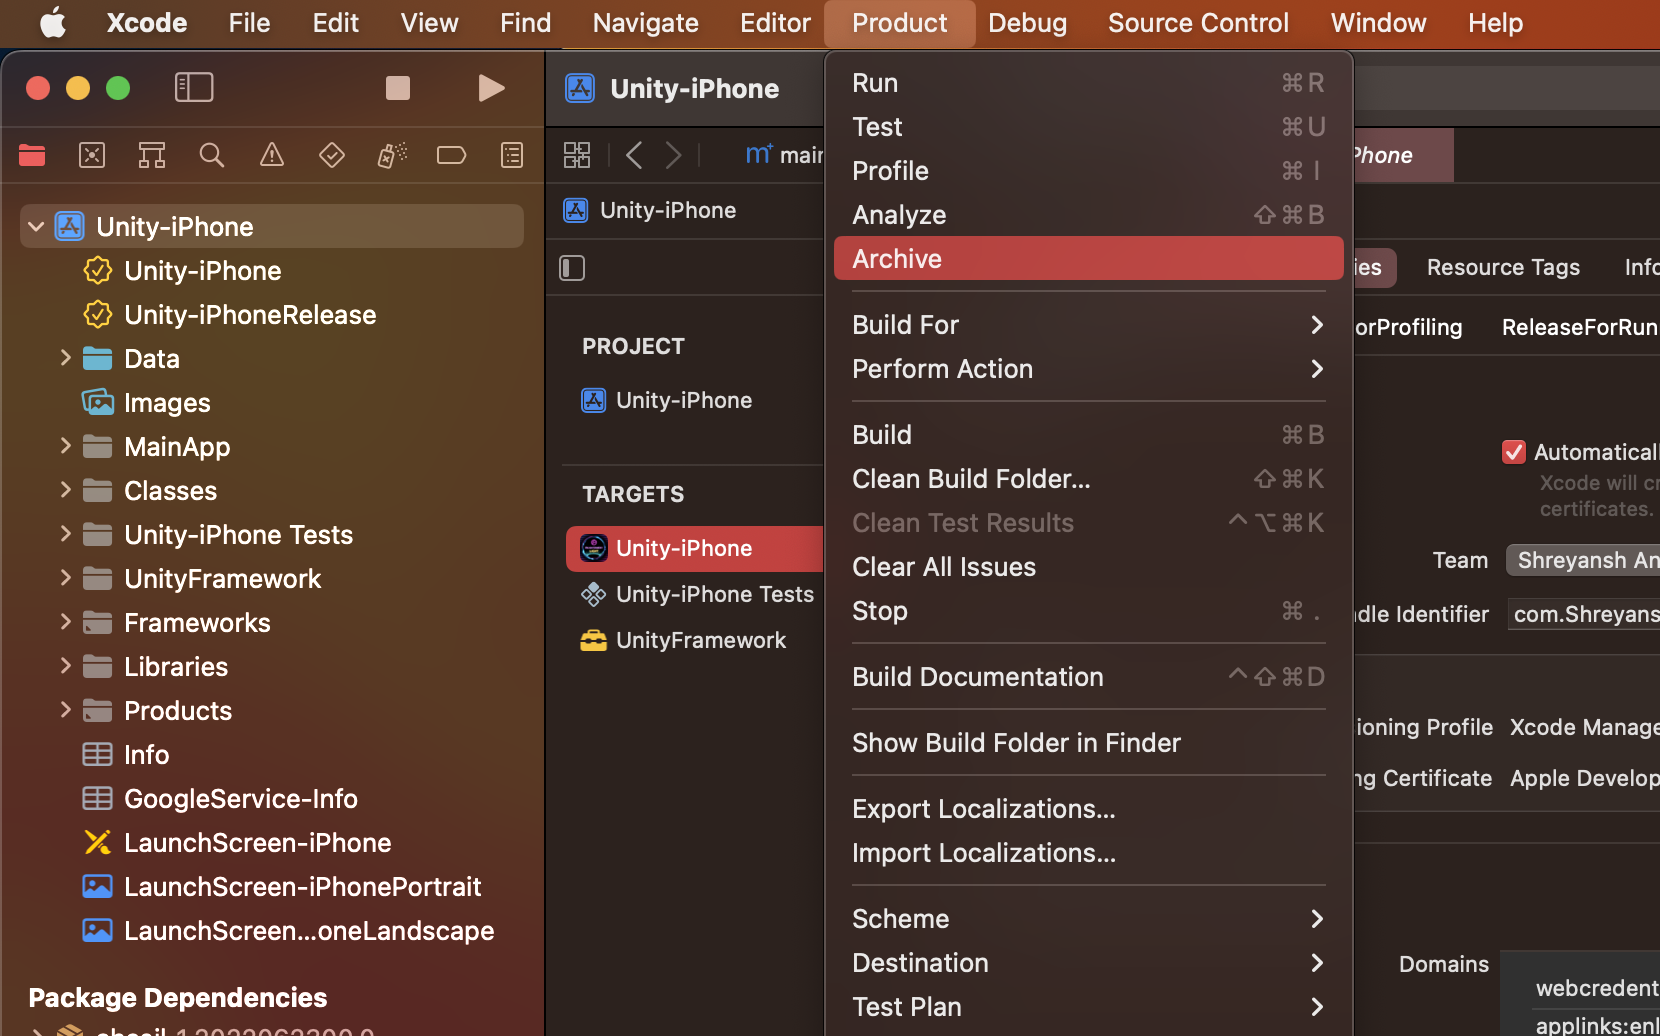
Create an Archive after your build is created from Product > Archive
Then go to Window > Organizer, select your build and choose Distribute App
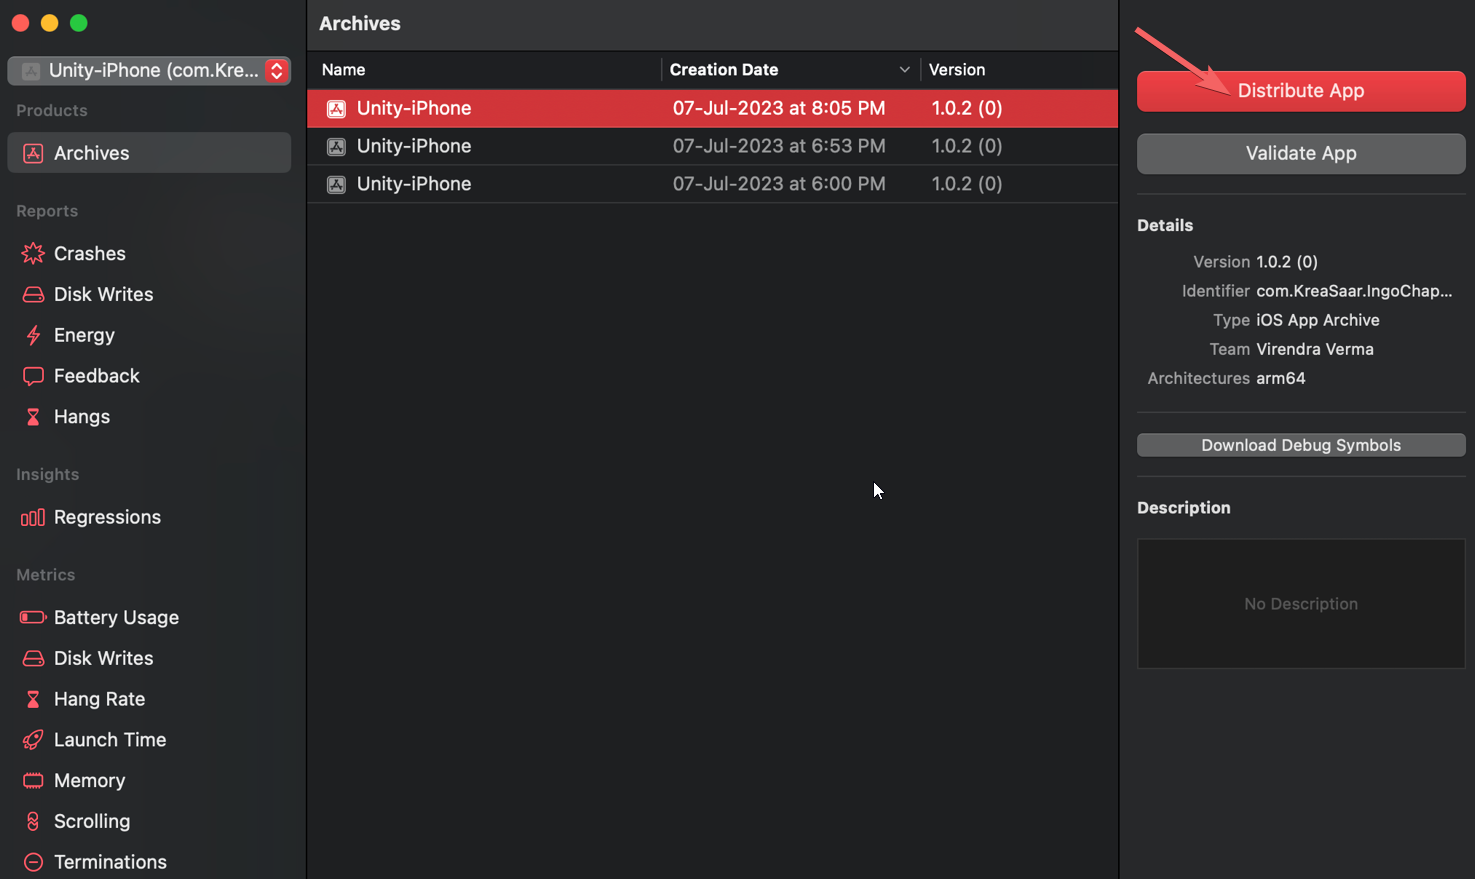
If your build fails in distribution, you will receive a mail with the reason for failure.
Deep linking
Now You must perform deep linking before proceeding with the build.
App Store Connect
Goto App Store Connect. Select My Apps.
Refer to App Store Connect for publishing your application in iOS App Store.
How to generate IPA file?
Once your archive is generated.
- Select App Store Connect.
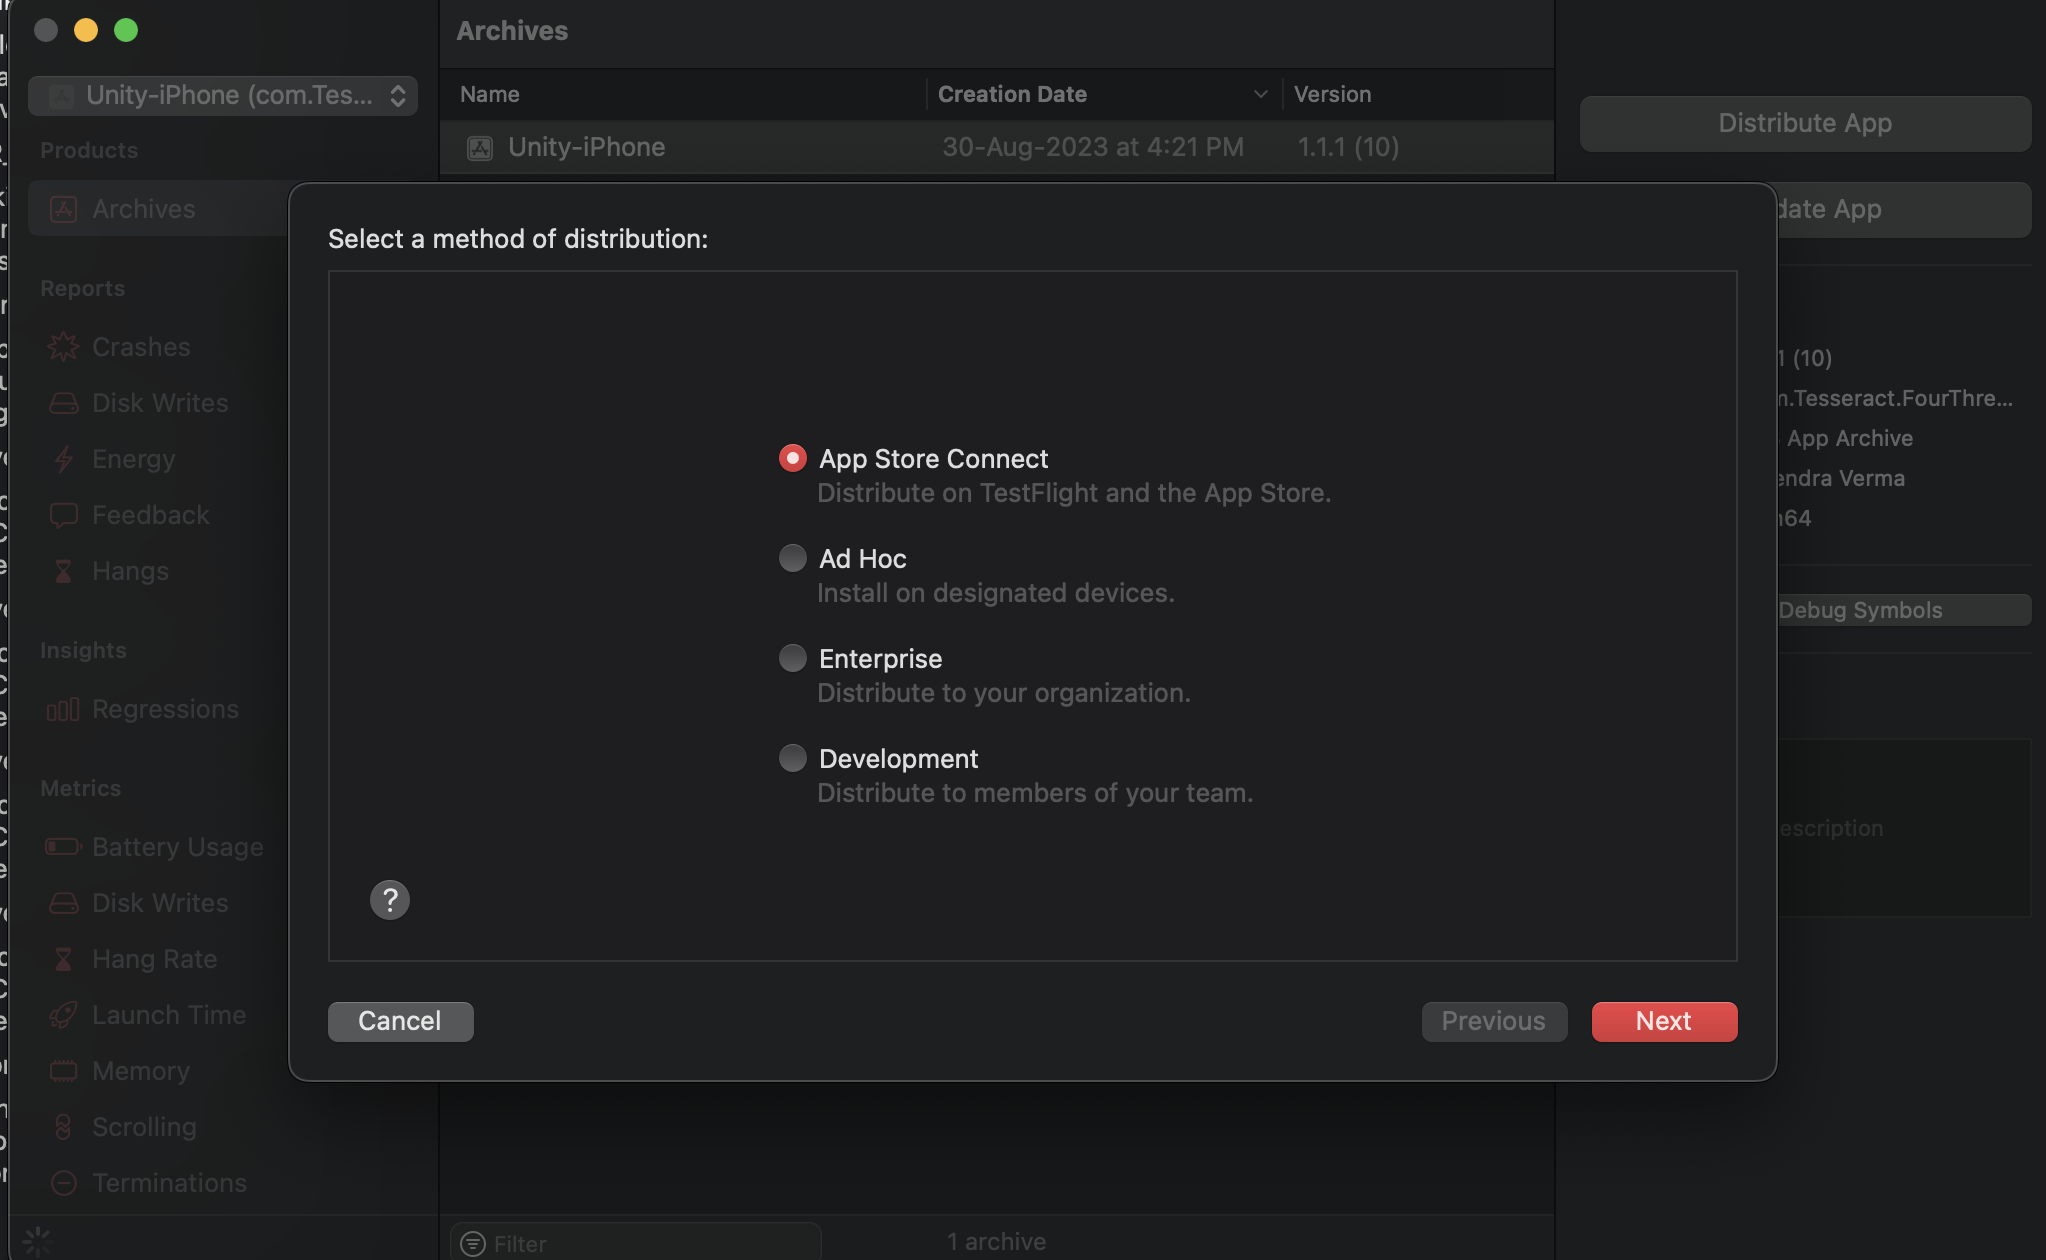
- Select Export
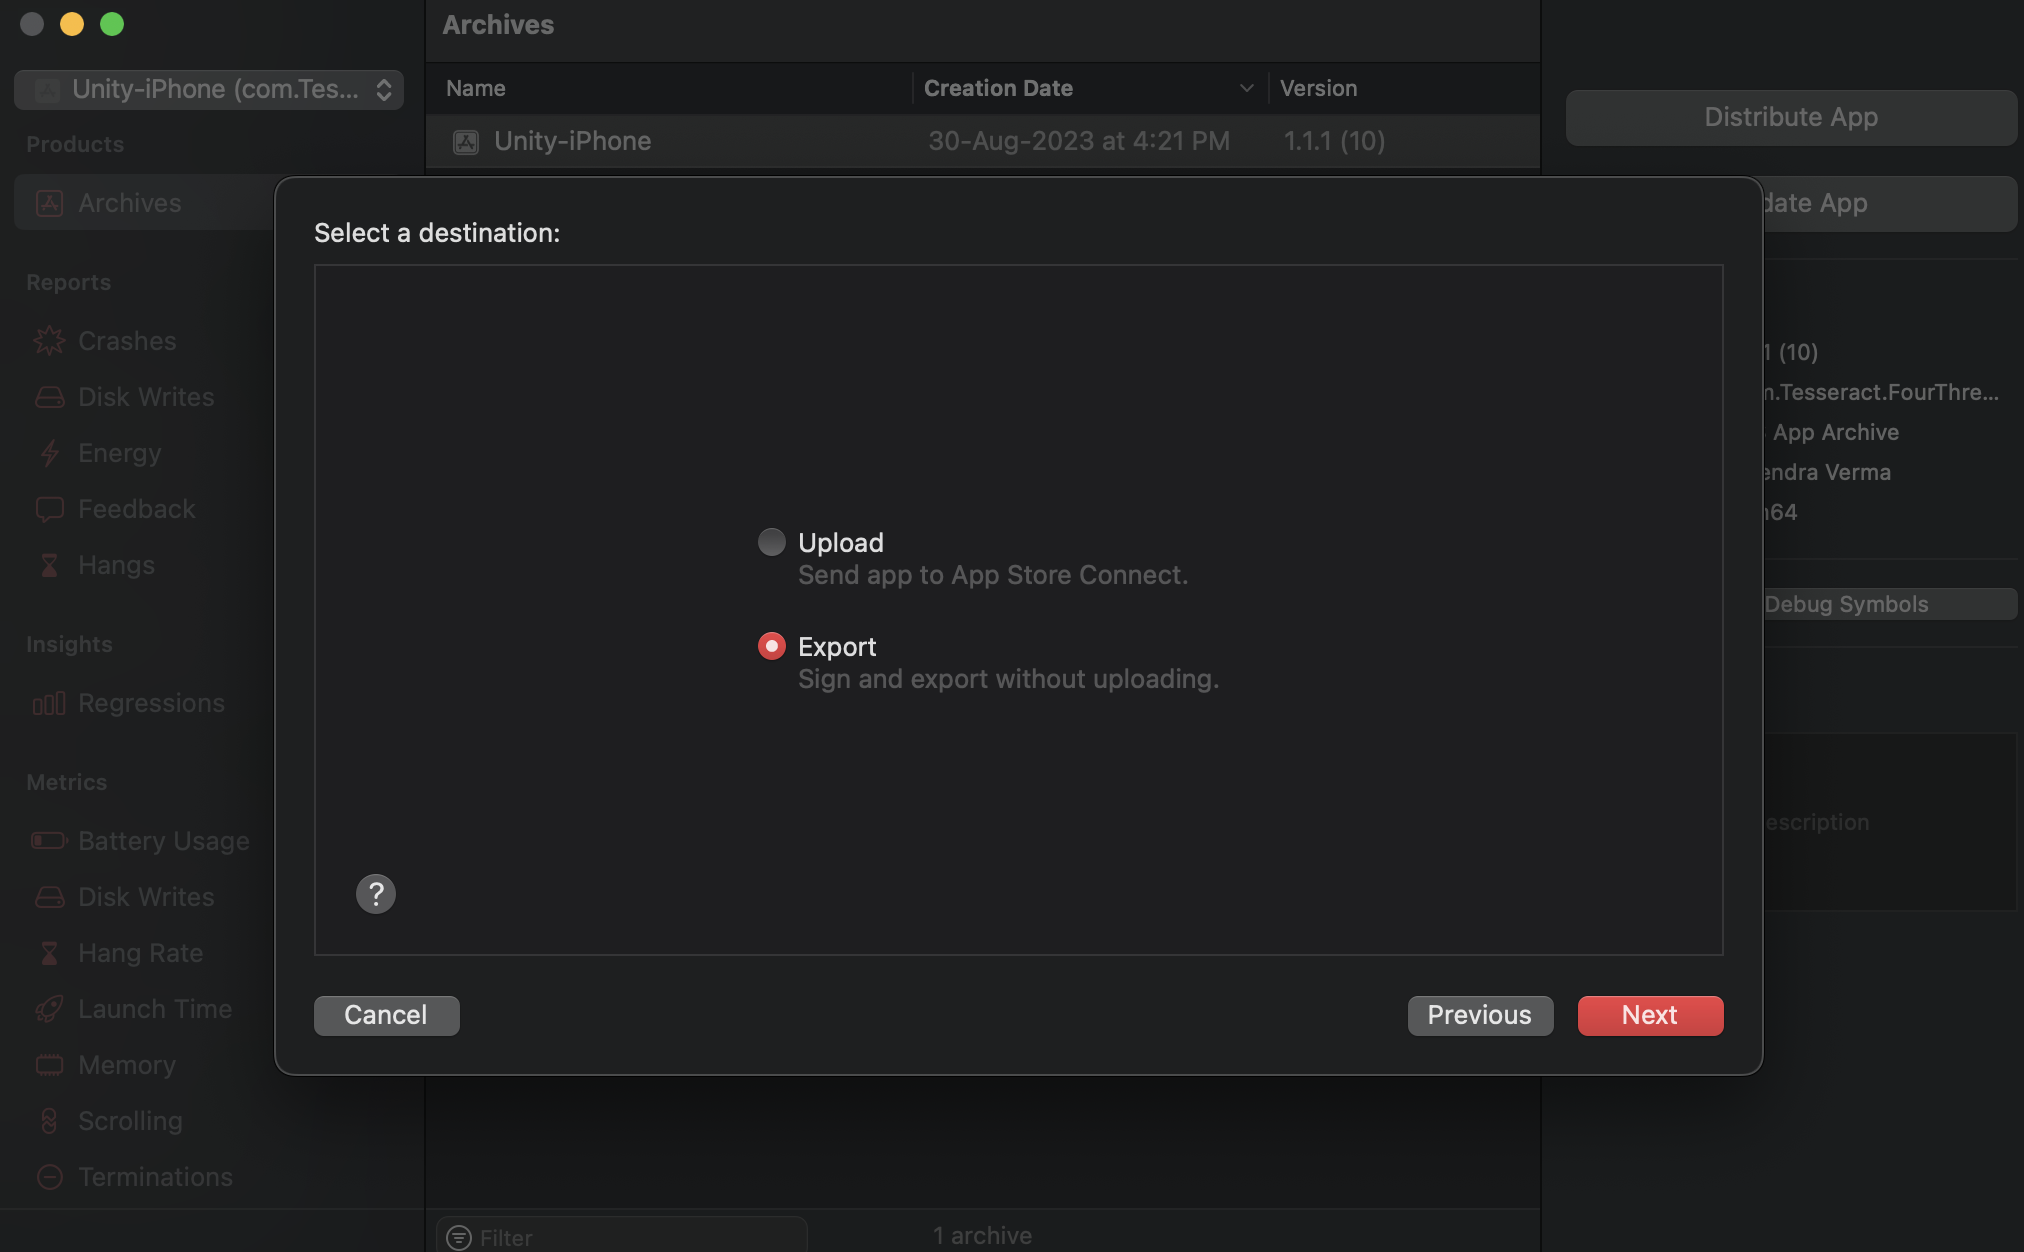
Proceed to generate the IPA file.